01
Separate the person from the plot
Begin with one sentence about who the Character is, then underline only what a still image could show. “Nori is a night-market announcer who takes lost umbrellas personally” gives a story role. “Adult, broad round face, cropped black hair, burgundy waistcoat, silver handbell” gives drawable evidence. Both are useful, but they do different jobs.
Put the visible details in the Character description. Keep the missing-umbrella conflict for the first Scene or Clip. A request that contains a whole biography, three locations and the ending of an episode asks a portrait to carry information it cannot visibly communicate. The result may be attractive without solving your character design.
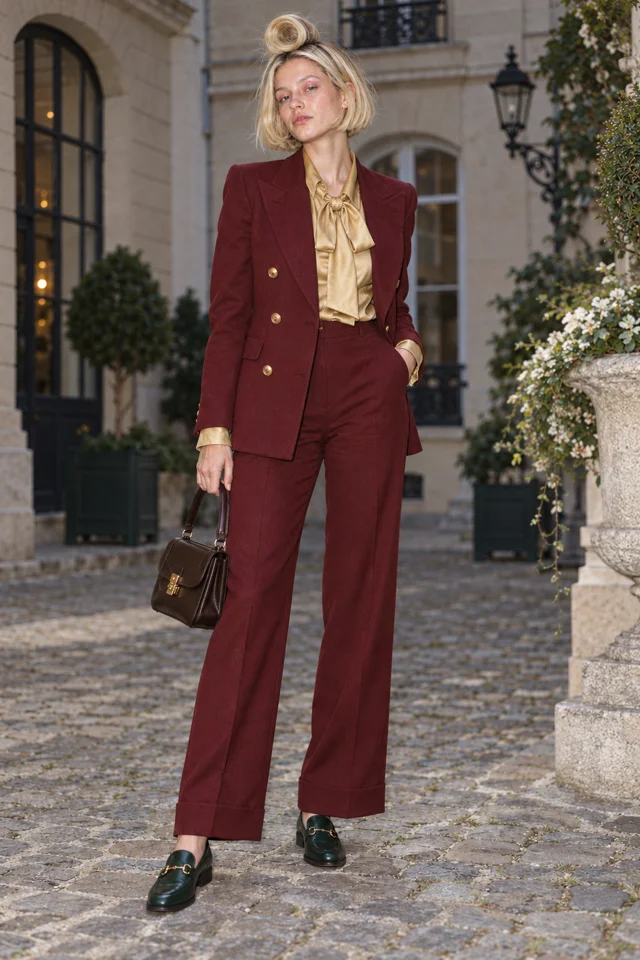
The artwork is our concept example. Your edited brief opens the real Character form; no drawing starts here.
02
Build a brief with four concrete parts
Write identity, shape, clothing and expression in that order. For Nori: “Original adult market announcer, round face and cropped black hair; sturdy build; burgundy waistcoat over a cream shirt; attentive expression; holding a small silver handbell.” Each clause gives the image a decision it can actually express.
Avoid stacks of subjective adjectives such as iconic, cinematic, amazing and unforgettable. They do not tell you whether the hair or coat came out right. Replace them with observable details. If the bell is not essential to recognizing Nori, make it a Clip prop rather than a permanent part of every Character Image.
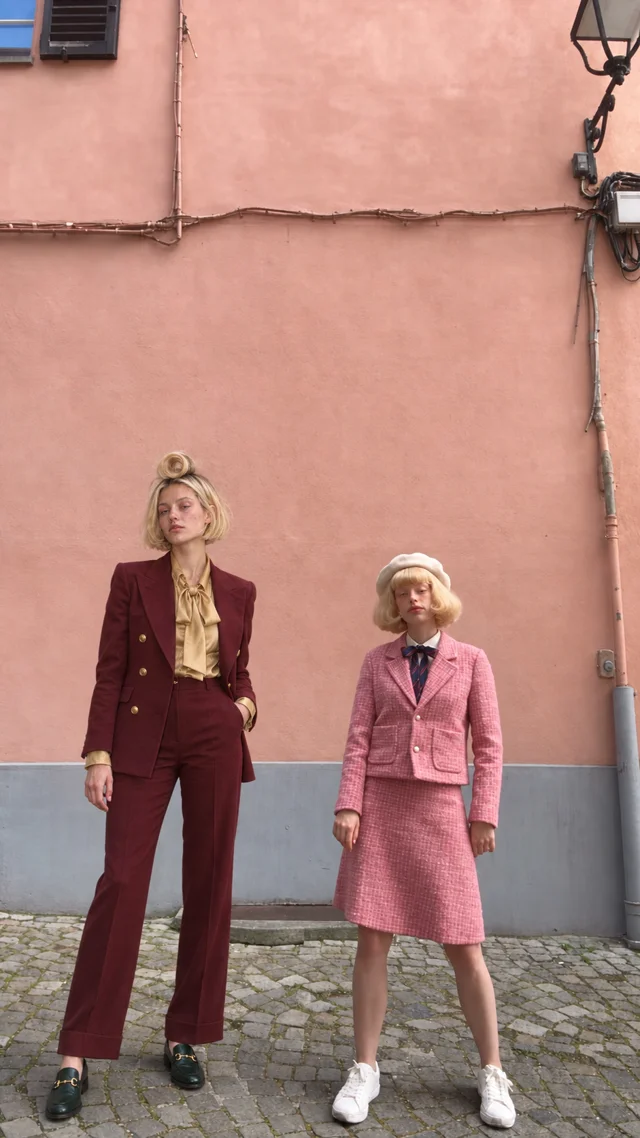
Every entrance is a runway.
Live action selected for this walkthrough. Choose your Look in the app; this inspector keeps the original reference artwork.
03
Pick the Look without rewriting identity
On the New Character screen, enter the name and your words. Pick a Look for a standalone Character. In a World, the Character follows the World’s Look; you are working inside an existing visual context. Use the options the current screen provides instead of assuming a particular style label will always be present.
Changing the Look should change how Nori is drawn, not whether Nori is suddenly a different person. Keep face shape, hairstyle and outfit recognizable. If you want to compare Looks, change that one choice while holding the identity brief still. See keeping a consistent Cast for a more deliberate comparison.
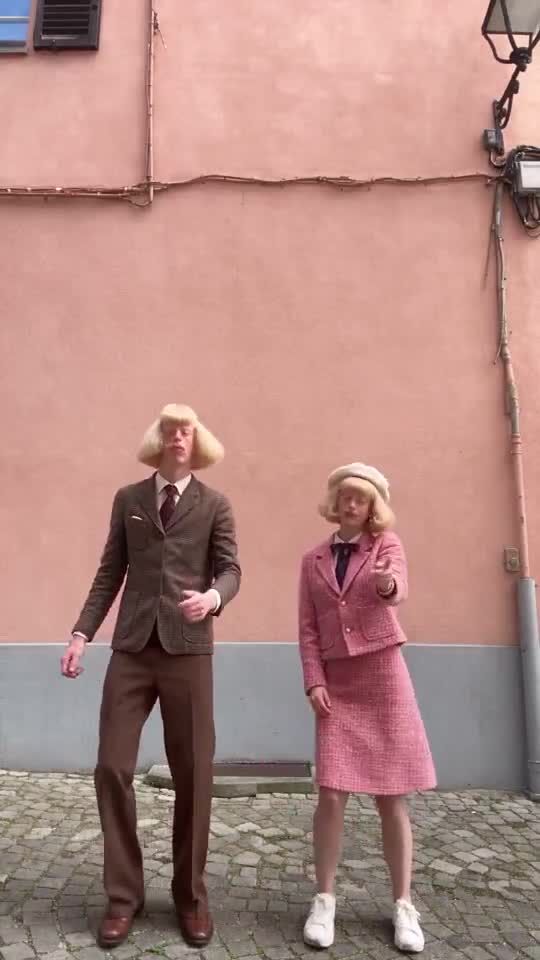
Every entrance is a runway.
Live action selected for this walkthrough. Choose your Look in the app; this inspector keeps the original reference artwork.
04
Review the result against the brief
Before keeping an Image, make a small checklist: cropped hair, round face, burgundy waistcoat, cream shirt, calm attention. Check the main shapes first and small accessories second. This gives you a reason to accept a result beyond “I like the lighting,” and a reason to revise it beyond “something feels wrong.”
If the coat color is wrong, fix the coat request. If the face reads much younger than intended, make the age description clearer. Rewriting everything at once can fix one issue while losing a successful detail. The review is a design decision; a generated Image is not proof that the description has been followed exactly.
CLIP DIRECTION PREVIEW
Give Lucie one clear action.
Keep this direction for Playground. This artwork is a Character reference, not a Clip generated from your text.
Open Playground ↗05
Move action words into the first Clip
After keeping Nori, use that saved Character as a reference and write one action for a Playground Clip: “Nori rings the small bell once, notices a forgotten umbrella and looks directly at it. Quiet market stall, steady framing.” The Character reference carries identity; the Clip direction carries the event.
Save a short copy of the successful identity brief for your own editorial notes. It is useful when discussing revisions, but it should not replace the saved Character every time you make a Clip. When the idea needs another recurring person or a setting, move on to a World rather than packing the whole cast into one Character description.
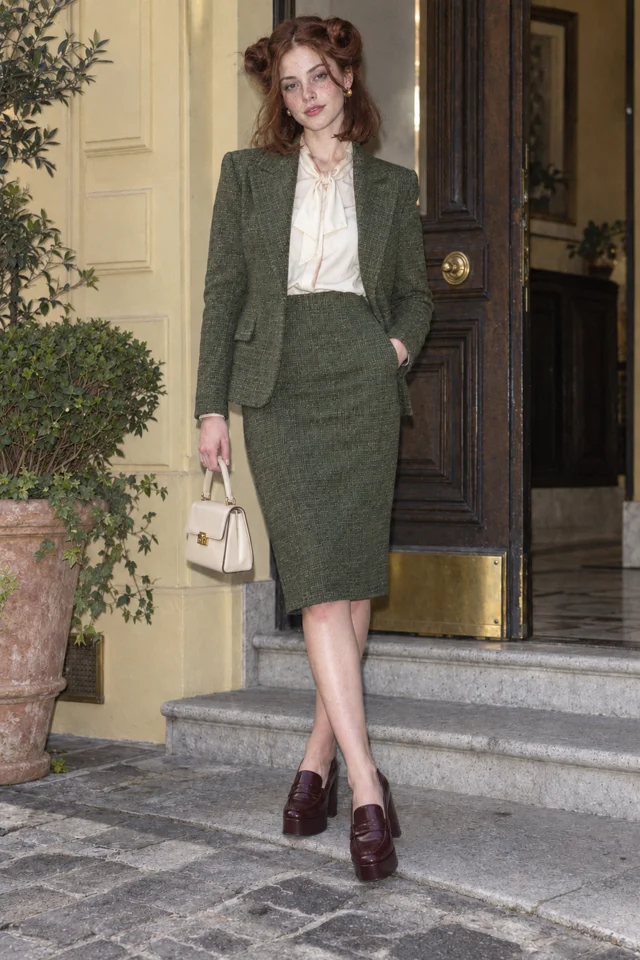
SCENE 1An entrance
Lucie Loop makes a perfectly serious entrance.
 SCENE 2
A complication
Ines Brume has already claimed the good chair.
 SCENE 3
A next episode
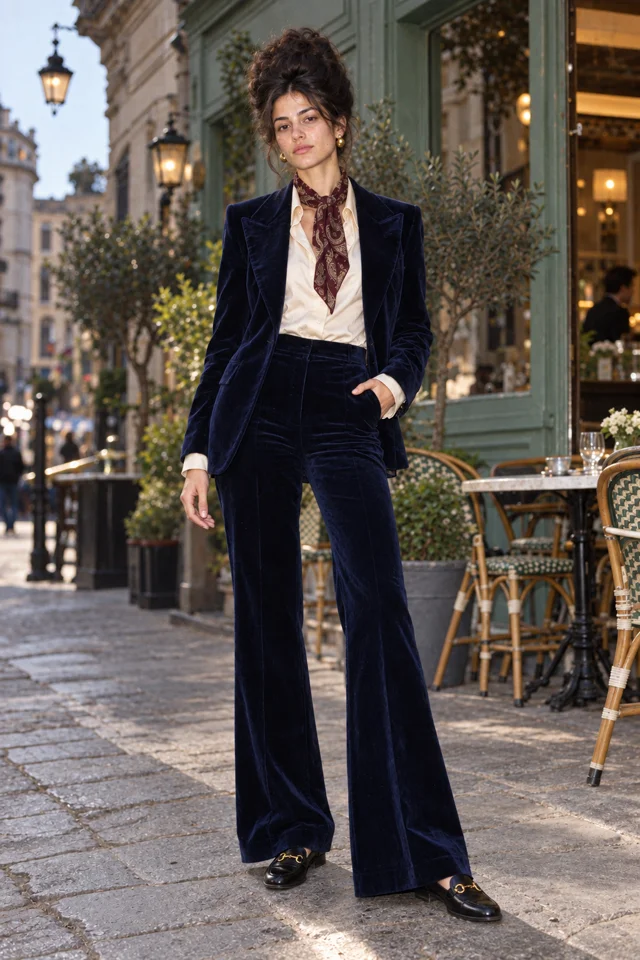
Sofia Velluto turns a small errand into a new episode.
Original artwork and illustrative Scene cards · not generated Film frames.
Start my World ↗Keep it sharp.
- A plot summary is not a visible Character brief. Give the portrait observable identity and outfit details.
- Conflicting requests such as smiling and expressionless make review harder. Pick the expression needed for this design.
- Relying on a name alone. Say what the face, the hair and the outfit look like so the picture matches the person you imagined.
Things you’re wondering.
Do I need to upload a photo?
No. You can start with a name and words. A photo is another creation path; use a person’s likeness only with the necessary rights and consent.
How long should the description be?
Long enough to state the important visible details clearly. A focused paragraph is more useful than a long biography with no way to inspect whether it was followed.
Should I include camera movement?
Save camera movement and physical action for the Clip direction. The Character brief establishes who appears; the Clip describes what happens around them.
Will every detail come out exactly?
No. Inspect the result against your brief and revise important mismatches. A saved Character supports reuse, but it does not guarantee perfect rendering in every Image or Clip.
Explore the app.
- Character guide · Make a comedy Character ↗